
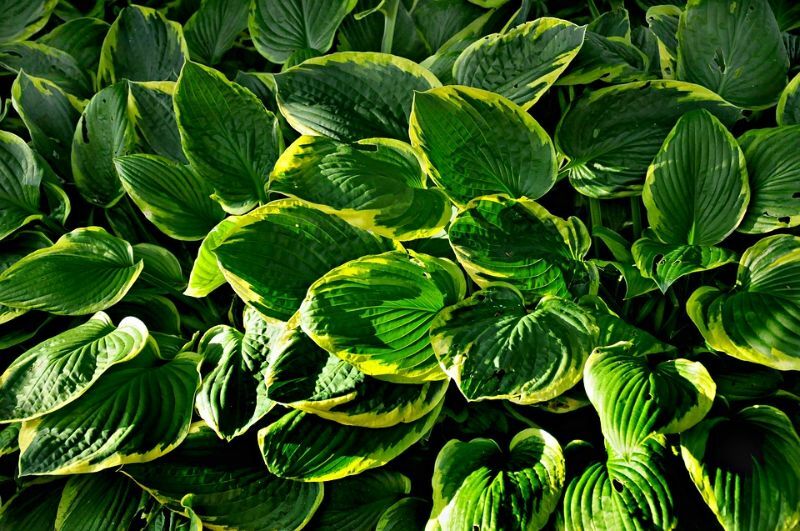
- After planting or when new growth sprouts in the spring, use a well-balanced, slow-release fertilizer.
- If the soil dries up quickly, mulch around the plants can help maintain moisture, but keep in mind that mulch can also serve as a hiding place for slugs.
- Many hosta cultivars have attractive fall color, so let them alone until frost threatens them.
- Hostas flatten out and become mushy in late autumn after a few frosts. To avoid slug and disease problems, we recommend trimming them back. Clean up the area around the plants and get rid of any brown leaves. If you run out of time, you can always wait until spring to prune them.
- Early spring is the finest time to transplant and divide since the leaves are just starting to sprout.
Transplanting or Dividing Hostas
Hostas don’t normally need to be divided for health reasons. They will simply develop slower if they have less area. If you want to divide a hosta for a more tidy landscape, do so in the early spring when the “eyes,” or growing tips, begin to emerge from the ground. Moving or transplanting a hosta to a different location is also an excellent idea now.
Leave as much of the root attached to each crown or plant as feasible. Plant the new hostas at the same depth in the soil as the old ones. Water thoroughly till the plant is established.
Do hostas need to be cut back?
Hostas are a perennial plant, which means they lose their leaves in the winter. This easy-to-care-for plant is known for its huge waxy leaves that produce long stalks with blossoms, although it will need to be pruned down in the fall. It is critical to prepare the hostas for winter in order to ensure strong blooms in the spring. Pests like slugs and bunnies can nibble the leaves and make them seem ragged as the weather becomes cooler. The leaves of the hostas also start to droop and die back. Trimming the hostas after the first hard freeze is beneficial.
Why are the leaves on my hosta turning brown?
When the temperatures rise or the sun is too harsh, brown leaf edges are prevalent on hostas and other shade-loving plants.
When a plant loses more water than is available or faster than it can absorb, brown leaf edges, also known as scorch, develop. Grow shade-loving plants like hostas in shaded regions away from the scorching midday and afternoon heat to reduce the danger of this condition.
Improve the water-holding capacity of fast-draining sandy soils by adding organic matter. The plants should be watered properly and frequently enough to keep the soil moist.
To keep the soil cool and evenly moist, mulch it with shredded leaves, evergreen needles, or other organic debris. Yes, I realize that this also provides the ideal climate for slugs. If a slug problem arises, use a shallow can of beer to catch the slimy parasites.
If slugs are a problem, consider adding additional slug-resistant hostas to your garden. Like the 2014 Hosta of the Year, Abiqua Drinking Gourd, these feature thicker leaves.
When should you cut the blooms off of hostas?
Cut each scape when just two flowers are open if you wish to enjoy the hosta flowers in a bouquet; the remainder will emerge over two weeks inside your home. Even if you leave the flowers on the plants, you should still cut off the scapes once the blooms have faded. Cutting off each scape after three-fourths of the flower buds have opened, according to the American Hosta Society, prevents the plants from directing energy into seed production for the following year, allowing them to grow more roots and leaves instead.
#1 Fertilizing Hostas At The Right Time
Hosta plants respond well to fertilization, despite not being heavy feeders from the soil. Especially when it comes at a time when they are most in need of it. For hostas, this entails an early spring application as well as a dose in the middle of the summer.
Applying a slow-release fertilizer in the early spring helps feed the roots and promote strong early foliage growth.
Early growth is critical for developing robust, healthy bloom sets.
Should you deadhead hostas?
It’s better to accomplish this using little clippers or scissors because you’ll need to remove the entire flower, including the ovary, rather than just the petals. Daylilies, moonflowers, lilies, and other trumpet-shaped blooms are examples of flowers whose petals easily split from the ovary. Snip them at the point where the stem begins, right below the bulge.
Deadheading is also required in the perennial garden to maintain it neat and to keep plants blooming longer, thereby extending the season. However, in the perennial garden, deadheading certain plants is necessary to prevent them from taking over. If not controlled by deadheading, daisies, cone flowers, some morning glories, sea oats grass, spiderwort, and a variety of other perennials that grow by seed can become quite invasive.
Although some perennials have such small flowers that deadheading would be too time-consuming and tiresome, and others have attractive seedpods that you may wish to leave alone, deadheading is a healthy gardening technique in general.
Q: When my hosta blooms, should I remove the flowers? It is said to deplete the plant’s energy and cause it to become spindly. Pat
A: It isn’t required. Some of mine, especially those with lovely or fragrant blossoms, I let flower. My Hosta hyacinthiflora has lovely violet purple blossoms, and a few of the white flowered varieties have a strong, spicy scent. I cut each of these up and bring them inside to eat.
Should I cut off dead hosta leaves?
If you want to see strong flowers in the spring, you must prepare your perennials for winter. Fortunately, some plants are low-maintenance and require very little attention to grow. Hostas are a good example because they don’t require a lot of your time or attention to stay attractive and grow year after year. That does not, however, imply that you should leave them unattended! Trimming your hostas back after the first hard freeze is an important maintenance task you can do each fall.
Early in the fall, some of your hosta leaves may turn yellow, and you can clip them off if you choose. However, it isn’t required, and you may choose to take advantage of the changing hues when you get the opportunity. Waiting for the first frost is a better strategy. The first chill of the season will kill your hosta leaves, turning your lovely plant into a brown, unsightly eyesore.
Trimming back your hostas isn’t just for the brown leaves. During the winter, cutting off dead leaves protects disease, insects, and slugs from hiding in your plants. Remove all of the dead foliage from the flowerbed and compost the remaining good leaves (diseased leaves should not be composted).
You may prepare your hostas for the tough winter season by simply pruning them, ensuring that they survive in the spring. Visit your neighborhood Homestead Gardens now for more information on how to care for your perennials and to purchase gardening materials.
Do hostas like sun?
Sun-tolerant hostas must be protected from the heat during the hottest part of the day, even though they can withstand more sun than traditional shade-loving hostas. Hostas can withstand more sun in Zones 6 and north than they can in warmer zones. Even sun-tolerant hostas will struggle to tolerate more than a few hours of sun in the warmest zones.
Hostas for the sun do well in all growing zones when they have sufficient of moisture. Sun-loving hostas will need more water than those that grow in shadier environments. On sun-tolerant hostas, keep a thick layer of mulch on top of the soil to help conserve moisture. Visit local nurseries in August to look at hostas and decide which ones are best for your landscaping. The sun-tolerant hostas that don’t have scorched leaves are the ones you can bank on to perform in your garden.
How often should you water hostas?
Watering the root system rather than the foliage benefits Hostas. Deep root growth is aided by slow, deep watering of the soil. For the first two weeks, newly planted hostas will require daily watering.
Small or medium plants will require a good soak once a week once they have established themselves. Hostas tolerate drought but need moist, well-drained soil. Increase the watering frequency to three times per week if the weather is warm. Large hostas should be watered twice a week in the summer and daily in the winter, especially if they get a lot of sun.
Growing Hostas in pots necessitates more frequent watering. Because pots drain faster than gardens, giving the plant the slow sip it requires can be difficult. Water the pot every three days during the summer months. If the soil still appears to be too dry, it may need to be watered on a daily basis.
Why are my newly planted hostas turning yellow?
Hosta leaves can become yellow for a variety of reasons, and it’s critical that you figure out which one relates to your plant.
Hosta Leaves Turning Yellow from Scorch
When yellow hosta leaves suggest too much sun, it’s probably the easiest problem to fix. Hosta are shade-loving plants that thrive in partial or full shade. In fact, they’re a common sight in the shade garden. Yellow hosta leaves can be expected if grown in full sun. The leaves turn yellow and burn at the edges. Hosta scorch occurs when the leaves of a hosta plant become yellow as a result of too much sun.
If the plant is also cultivated in poor soil, the scorch will be significantly worse. The plant prefers moist soil that is rich in organic materials. The hosta leaves turn pale and burn when they are dried out in full light during a drought. You can provide temporary relief to the plant by watering thoroughly early in the day, but a better and more permanent option is to relocate the hosta to a shaded location with high organic matter soil.
Yellowing Leaves on Hosta Indicating Disease
When yellow hosta leaves signal disease, the treatment options become more limited. Petiole rot, caused by the fungus Sclerotium rolfsii var. delphinii, can produce yellowing leaves on hosta plants. Yellowing and browning of the lower leaf edges are the first signs of the disease. Your plant most likely has this disease if you notice brown, mushy decay with white fungal threads or fungal fruiting structures around the size of mustard seeds near the base of the petiole.
Can hostas be grown in pots?
Perennialsand even small shrubshave grown increasingly popular in containers as gardens have shrunk and breeders have developed compact types. Hostas are one of the perennials that thrives in the limits of a container. They are easy to care for and available in thousands of cultivars, making them the ideal plant for busy or preoccupied gardeners.
Mini-hostas, in particular, thrive in the confines of a container and, when grouped in a group or with other small plants, may be extremely appealing on a porch, patio, or stoop. In a container, however, any size hosta can be grown.
There are simply a few things to keep in mind when growing hostas in pots. To begin, most experts advise choosing a pot that is slightly smaller than the plant’s mature size. When planting the hosta in the container, leave less than 3 inches between the roots and the container’s edge. A small container may necessitate more regular waterings, but this is better for the plant’s general health.
Make sure your container plantings have good drainage, as with all container plantings. After a thorough soaking, the water should freely drain out of the bottom of the pot. Drill a couple more holes in the pot to improve drainage. It’s preferable to water the container thoroughly less frequently than to give the plant a small amount of water every day. However, if the weather is really hot or dry, you will almost certainly need to water your container every day or two. Hostas have the advantage of wilting a little when they get dry, but not completely drying up and dying. Your hostas are requesting a drink if they are withering. The major danger with hostas is overwatering, which can lead to crown rot.
Use a normal potting soil (never garden dirt) and water the plant in when growing hostas in pots. Fast-draining soil is recommended by some gardeners. Place the container outside in a shady or partially sunny location. While some hostas may tolerate heavy shade, the majority prefer dappled shade or morning sun.
Your hostas can be kept in pots year after year, but it’s not as simple as overwintering them in the garden. In fact, some people may winterize their container hostas by planting them in the ground. Other gardeners bury their pots outside, just like a garden hosta would, so that the roots lie underground. Another alternative is to move the pots to a covered location (such as the side of the house) and cover them with a thick layer of mulch. However, if we have a really harsh winter, this could be difficult. After the pots have gone dormant, a fourth alternative is to store them in an unheated garage or shed. However, the plants will need to be watered a few times during the winter to prevent the soil from wicking water away from the dormant roots. Do not attempt to keep hostas as houseplants over the winter. They require a time of cold and dormancy.